
Quick start
This walkthrough gets you from a fresh install to a working setup: Claude Code routing through Sentinel, with at least one account enrolled.
-
Open Sentinel. The tray icon appears in your menu bar / system tray and the daemon starts automatically. Click the icon to open the window.
-
Activate the proxy. Click Activate Sentinel in the banner. This writes
ANTHROPIC_BASE_URL=http://localhost:47284(plus OTEL telemetry variables) into~/.claude/settings.json.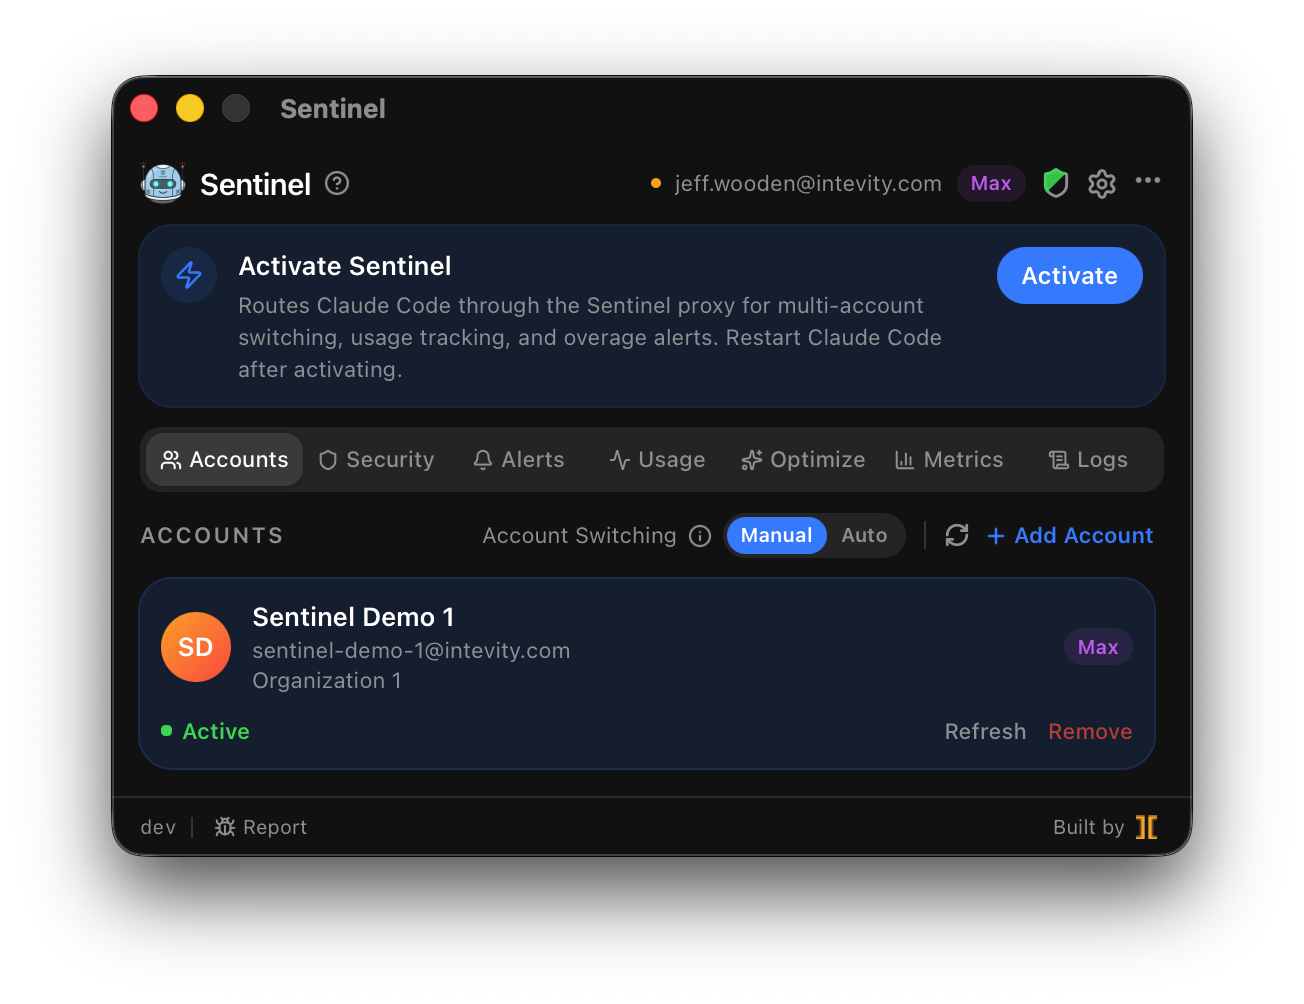
-
Restart Claude Code so it picks up the new base URL. Every session now flows through the daemon.
-
Add your first account. Go to the Accounts tab → Add Account. An in-app terminal runs
claude setup-token— complete Claude Code’s sign-in in the browser for the account you want to enroll, then give the account a name. Sentinel stores the long-lived token in your OS keychain. (No Claude Code CLI installed yet? The panel shows the official one-line installer with a copy button — run it, then hit Retry.)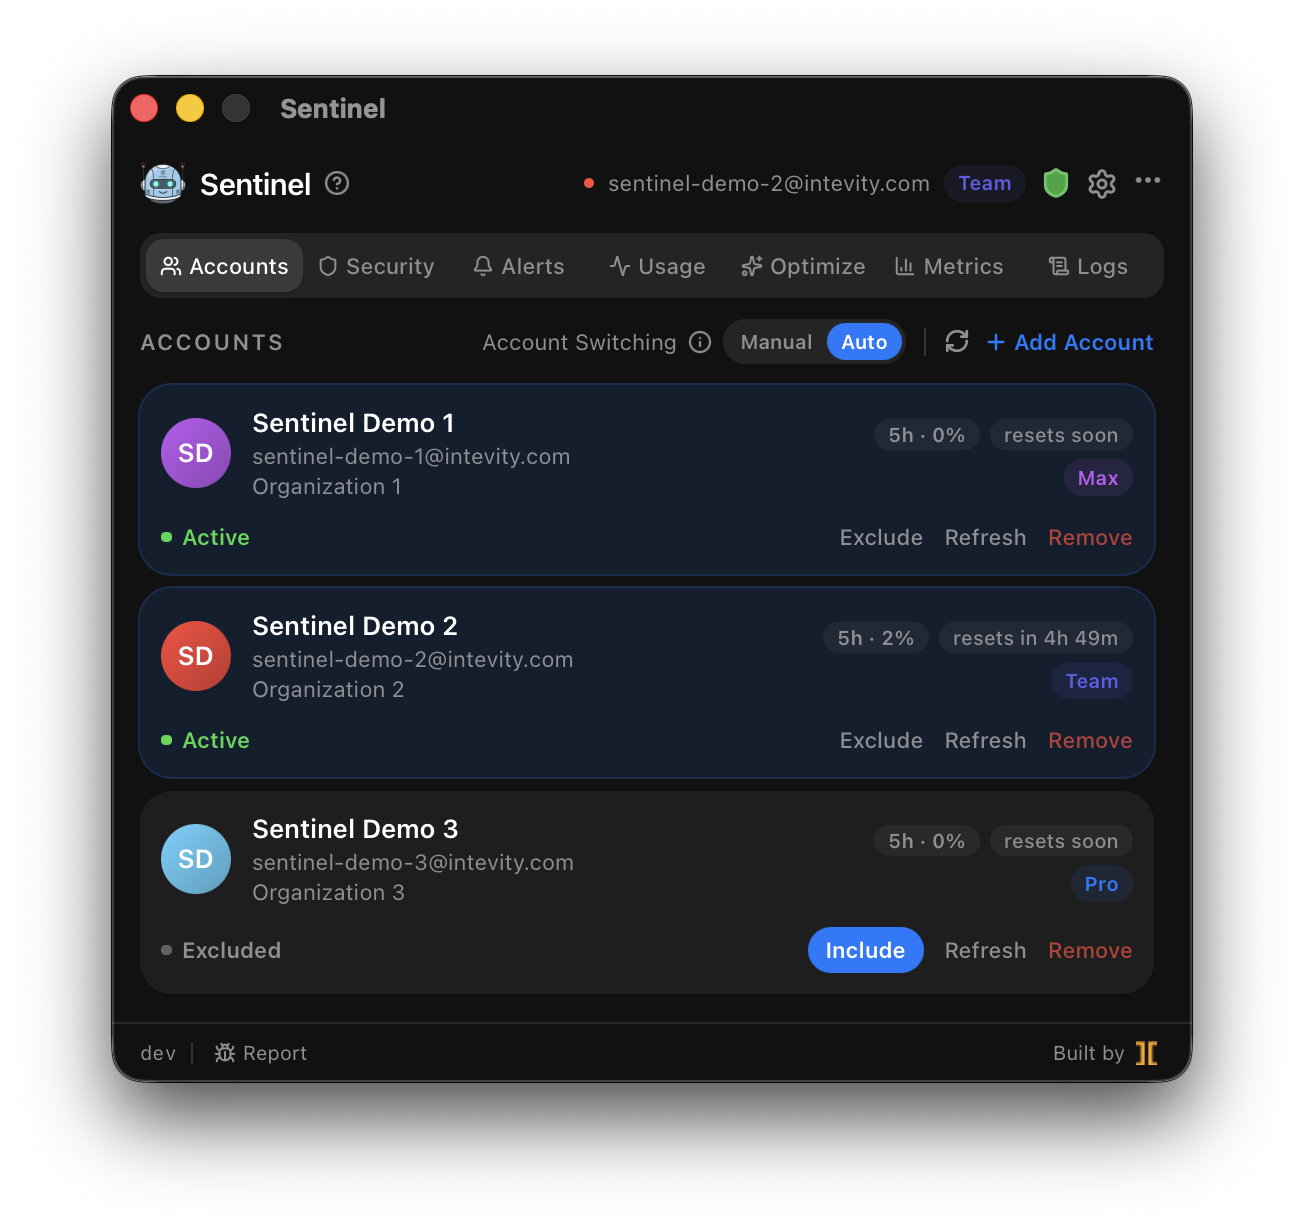
-
(Optional) Enroll more accounts and turn on routing. Repeat Add Account for each Claude subscription you own. To let Sentinel pick the active account automatically, open Settings → switching mode and choose Auto. See Multi-account routing.
-
(Optional) Route the Claude Desktop app too. If the Claude Desktop app is installed, Sentinel shows a Claude Desktop card — one click routes the app’s Chat and Code inference through the same account pool. See Connect Claude Desktop.
Confirm it’s working
Section titled “Confirm it’s working”Run any Claude Code command, then check the daemon log — you should see the request pass through:
tail -f ~/.sentinel/daemon.logThe Usage tab in the app will also begin showing live rate-limit windows for the active account.
Where to go next
Section titled “Where to go next”- Explore what Sentinel does, one feature at a time, starting with Accounts & routing.
- Lock down what Claude Code can run with Permission rules and Sandbox isolation.
- Cut token cost on the Optimize page.